1. Long time and regular lubrication can maintain the life of the chuck. Incorrect lubrication will lead to weakened clamping force of the chuck, poor precision, wear and seizure, so the chuck must be properly lubricated.
| Lubricating parts | Lubricating oil type | Lubrication expired |
| Use a grease gun to inject grease into the grease nipple around each base jaw | Molybdenum disulfide grease | Once a day, but if the chuck is used in a large amount of water-based cutting fluid environment, more lubrication is required, please decide according to different situations. |
2. After processing, be sure to clean the chuck body and slideway surface with an air gun or similar tools.
3. Use anti-rust cutting fluid to avoid the reduction of clamping force caused by rust.
4. Disassemble and wash the chuck thoroughly every six months (or every 100,000 times) (for cutting cast iron, at least once every two months). Check the parts for damage or wear, and replace them with new ones if serious.
5. Disassembly and assembly steps of the hollow hydraulic chuck: (for safety, a sling or ring must be used when removing the chuck)
1) Loosen the fixing screw of the upper claw, and take out the upper claw and T-shaped nut.
2) Take out the dust cover.
3) Use a socket wrench to separate the pull rod nut from the pull rod.
4) Loosen the chuck fixing screw and take off the chuck.
5) Remove the wedge puller from the rear of the chuck.
6) Pull the base jaws towards the center of the disc body, and take out the base jaws from the rear end of the disc body.
7) Take out the connecting pressure ring from the wedge center pull plate, and take out the pull rod nut at the same time.
6. Disassembly and assembly steps of Zhongshi hydraulic chuck: (for safety, a sling or ring must be used when removing the chuck)
1) Loosen the fixing screw of the upper claw, and take out the upper claw and T-shaped nut.
2) Take out the dust cover.
3) Loosen the chuck connecting screw, and then take out the connecting pipe screw with a wrench, and then the chuck can be removed.
4) Take out the set screw of the base jaw from the back of the chuck.
5) Push the wedge puller back from the disc body.
6) Push the base claw outward from the center of the disc body.
7. After disassembly, clean all parts with gasoline or toluene and dry them. Lubricate fully before assembling. When assembling, follow the above disassembly sequence in reverse, but you must pay attention to the number and position of parts.
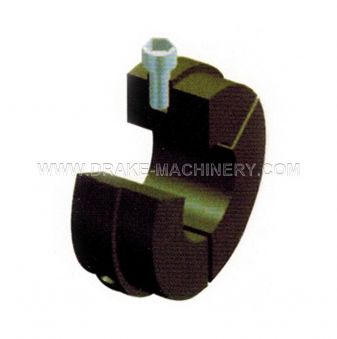 C Air Hydraulic Pressure Chuck Vice Claw
 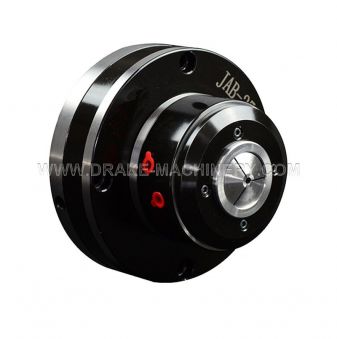 JAB High Speed Rotary Type Pneumatic Chuck
 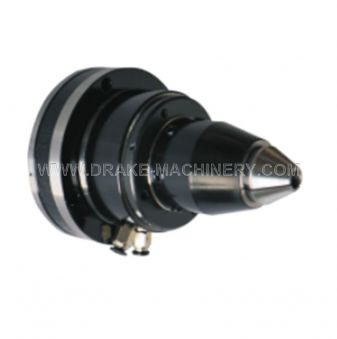 JAB-W25 Adjustable Precision High Speed Chuck
 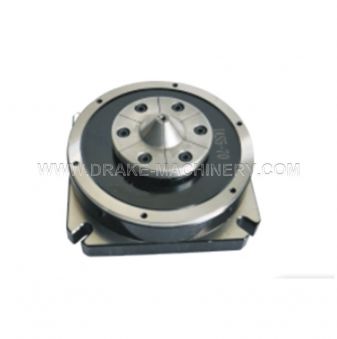 JAS Fixed Ultra Precision Diaphragm Chuck
 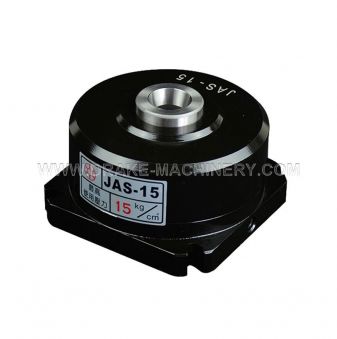 JAS Pneumatic Fixing Chuck
 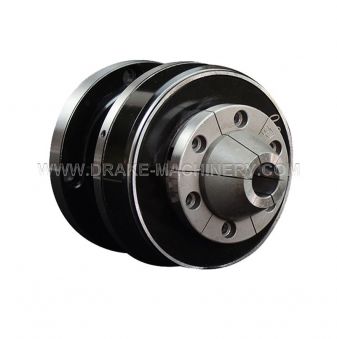 JA Ultra Precision Diaphragm Chuck
 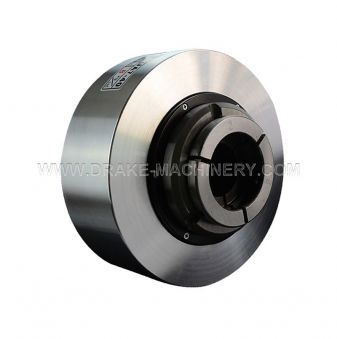 JA Pneumatic Rotary Quick Chuck
 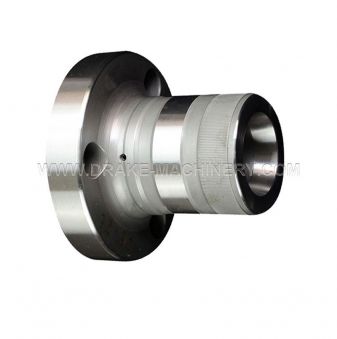 JB Spring Collet Back Pull Passive Chuck